In this tutorial, I’m going to show you how to use JWT with the web API in .NET
In the next scenario (happy path) the client will try to authenticate himself calling the JWT service. After getting the JWT the client will be able to call other services.
- The client will send his credentials to the JWT service.
- Then the service will go to a Database or will call an authentification service and will return who the person is in the DB.
- The JWT service will return the JWT
- The client now is able to call and use other services sending the JWT so the server can verify who the client is.

Introduction to JWT
A JWT (JSON Web Token) it is an open standard (RFC-7519) based on JSON and it is used for passing properties called claims (it is a self-contained that carries all the information necessary within itself in JSON format). The structure of a JWT allow services read those claims and prove the authenticity of the client without going to an authentification service every time. It means that depending on the claims that we send to the service, it can prove who the client is and the service can make a verification of the data.
Structure
The JWT structure has a well-defined structure and it is divided by a . in 3 parts:
header.payload.signatureeyJhbGciOiJIUzI1NiIsInR5cCI6IkpXVCJ9.eyJ1bmlxdWVfbmFtZSI6ImRhdmlkIiwibmJmIjoxNDkzODMxNTk4LCJleHAiOjE0OTM4MzI3OTgsImlhdCI6MTQ5MzgzMTU5OH0.PXWk3QdAjhn806p8F8VfysnRvIJ1cccmw2XYa1qG3fk

The header and the payload are strings in base64. It can be decoded and read easily. They have the information of who the client is as I will show you later.
The signature is formed putting together the header and the payload (header + payload) and then encrypting the result (EncriptHS256(header+payload))
Now to understand how a service will prove the authenticity of the JWT I will show it with an example. Let’s suppose that we have the next heather and the next payload.
- header in base64 : XXXX
- payload in base64 : YYYY
- signature: EncriptHS256(XXXX+YYYY, SECRET_KEY) = QQQQ
- JWT = XXXX.YYYY.QQQQ
When you send the JWT to another service what it will do is to encrypt the signature and compare that the signature is equal to the header+ payload.
- The service will receive the JWT XXXX.YYYY.QQQQ
- It will decrypt the signature signatureDesencripted =DesencriptSignature(QQQQ, SECRET_KEY)
- signatureDesencripted = XXXXYYYY
- The service will compare if signatureDesencripted is equal to header + payload (XXXXYYYY == XXXXYYYY)
- In case that the payload or the header are altered at the time the service is comparing the signature it will return false. (XXWWYYYY == XXXXYYYY)
Now let’s see each part that forms the JWT.
Header
The header is a JSON and the standard describes the properties called claims that it can have. For example, alg is a claim that describes the algorithm that it is used to encrypt the signature and the type is also a claim that defines the type of the token that we are using.
{
  "alg": "HS256",
  "type": "JWT"
}
Payload
The payload is a JSON that can be formed for any claim but the standard describes the properties that it should have. It contains the information which we want to transmit to our application.
{
  "UserId": "1",
  "username": "david",
  "admin":"false",
  "permissions":"1,2,6"
}
For example, I’m sending the userId, the username, if it admin and the permission that I’ll be using in my application.
Signature
The signature is a hash of header and payload using a secret key.
key = 'mySecretKey'
unsignedToken = base64Encode(header)+ '.' + base64Encode(payload)
var signature = SHA256(key, unsignedToken)
token = unsignedToken + '.' signature
Security Microservice architecture
In a Microservice architecture, all service must have the same secret password. The secret password must not be live in the code, it is very important to know that this is a security hole that must not exist, because if someone knows your secret key, that person can have access to any service.
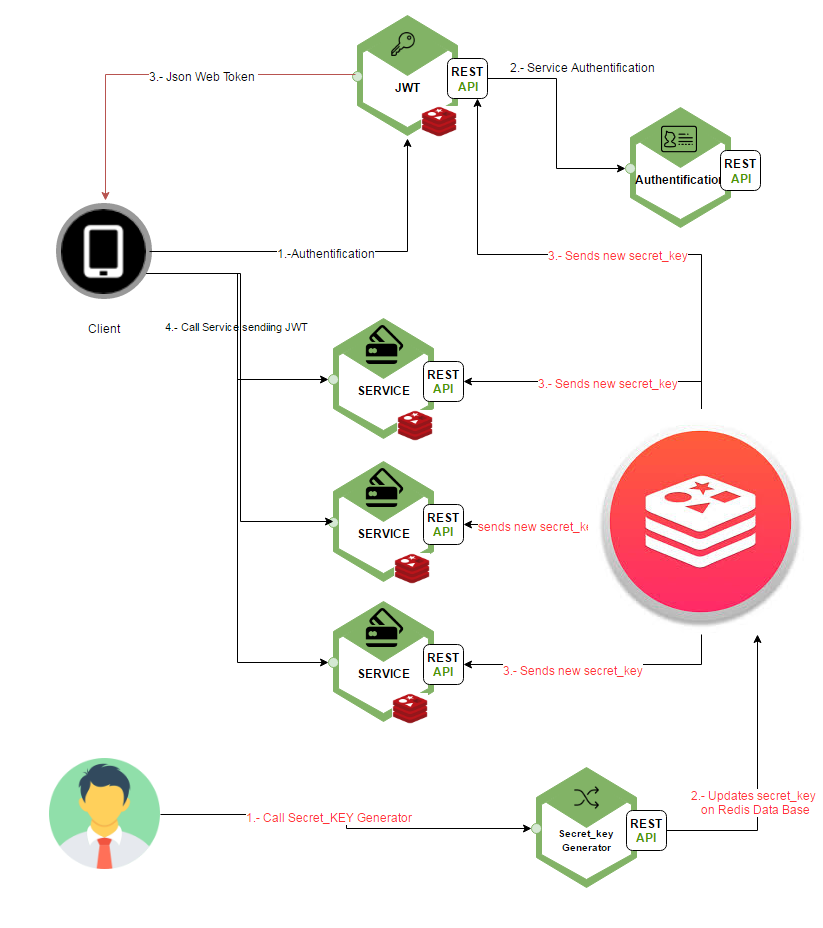
Although in this tutorial we are not going to implement the next architecture, I will show a good solution that can be implemented on a production environment. Using the Redis database to save the secret key and the ability to broadcast information to the clients that subscribe to the database.
The idea is to subscribe each service to the Redis database so it can broadcast the new password each time is necessary. Then create a service who will be responsible for generating a random secret key and update the secret key in the Redis database. Once this update is executed, Redis will send the new secret key to all those services subscribed and will update the secret key.
Web API with .NET
The ASP.NET web API is a framework that makes it easy to developed HTTP services.
To make it easy we are going to create the JWS service and instead of calling the authentification service, it will call a method that always returns true, so the client always is going to be authenticated and second instead of creating multiple services, we are going to call the same service (JWT) but in another controller that will ask for the token if they want to use the service.
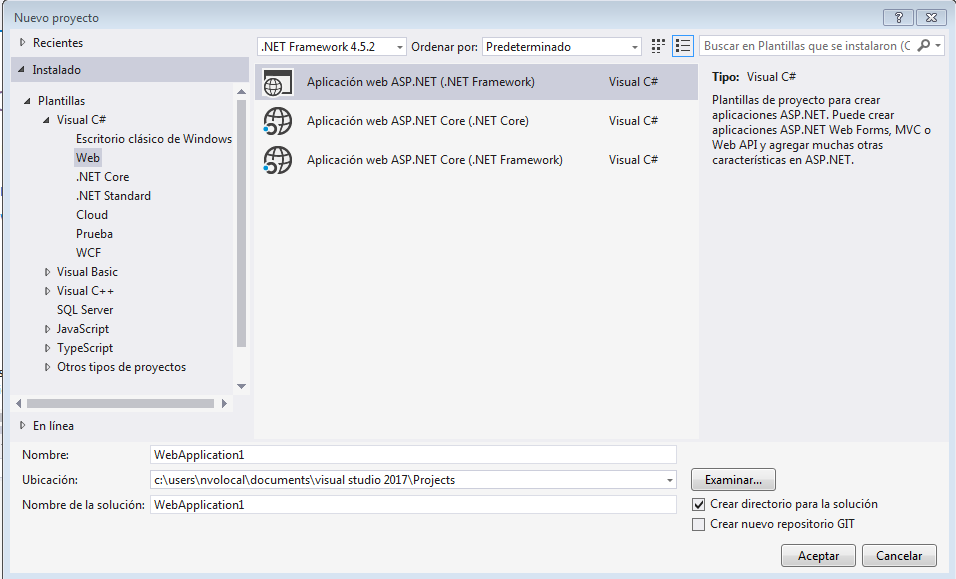
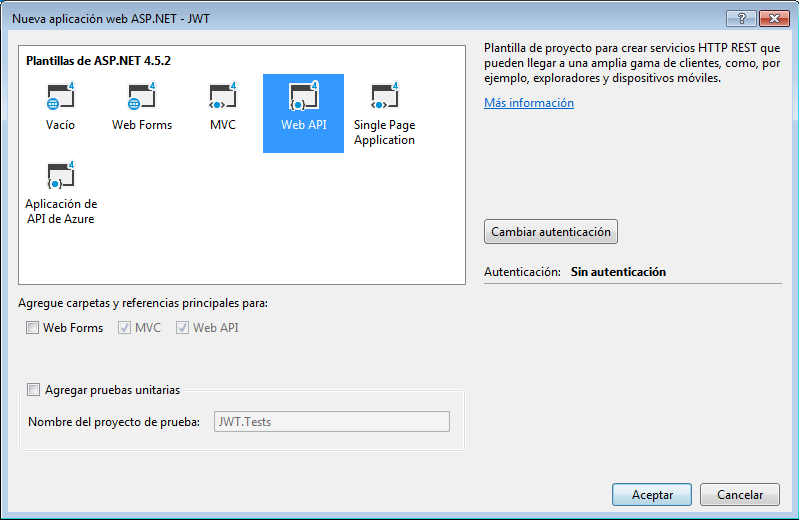
To create one we first need to create a web application.
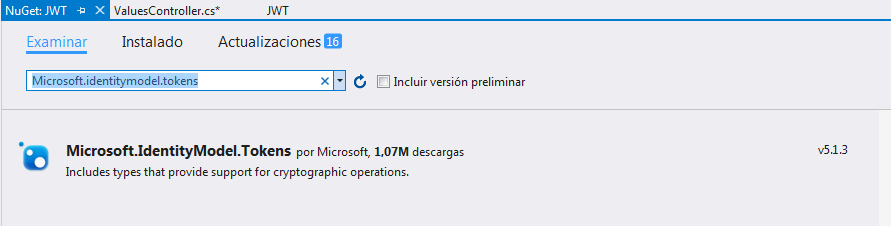
You are going to need to install Microsoft.IdentityModel.Tokens v5.1.3 that will allow us to manage token. You can go to references and right click -> admin package with NuGet -> Search for Microsoft.IdentityModel.Tokens v5.1.3 -> Install
Do the same and now install System.IdentityModel.Tokens.Jwt
In order to install you will need the .NET Framework 4.5.1

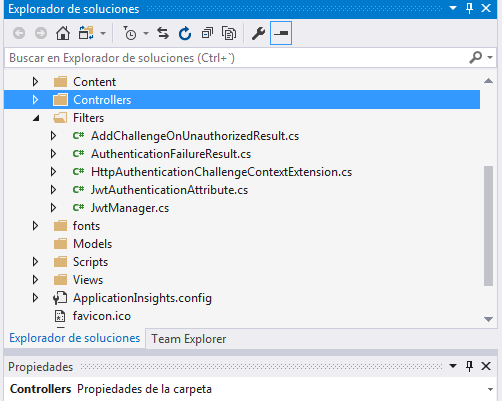
After installing the Microsoft.IdentityModel.Tokens v5.1.3 we are going to create a new Folder called Filters and we are going to create 6 classes that are going to help us to generate JWTs. (You can have access to the code in the GitHub)
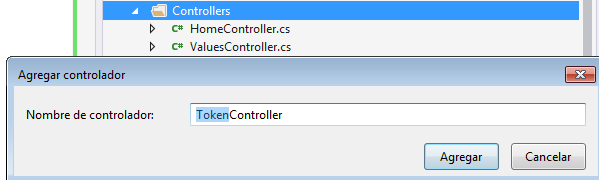
Now under the folder controller create a new controller called TokenController
[sourcecode language="csharp"]
using System.Net;
using System.Web.Http;
using JWT.Filters;

namespace JWT.Controllers
{
 public class TokenController : ApiController
 {
 // THis is naive endpoint for demo, it should use Basic authentication to provdie token or POST request
 [AllowAnonymous]
 public string Get(string username, string password)
 {
 if (CheckUser(username, password))
 {
 return JwtManager.GenerateToken(username);
 }

 throw new HttpResponseException(HttpStatusCode.Unauthorized);
 }

 public bool CheckUser(string username, string password)
 {
 // you should authenticate the user. In this example we are goint to return always true
 return true;
 }
 }
}
[/sourcecode]
Now go to the valuesController and edit the code like this.
[sourcecode language="csharp"]
using System.Web.Http;
using JWT.Filters;
namespace JWT.Controllers
{
public class ValuesController : ApiController
{
// GET api/values/
[JwtAuthentication]
public string Get()
{
return "value";
}
}
}
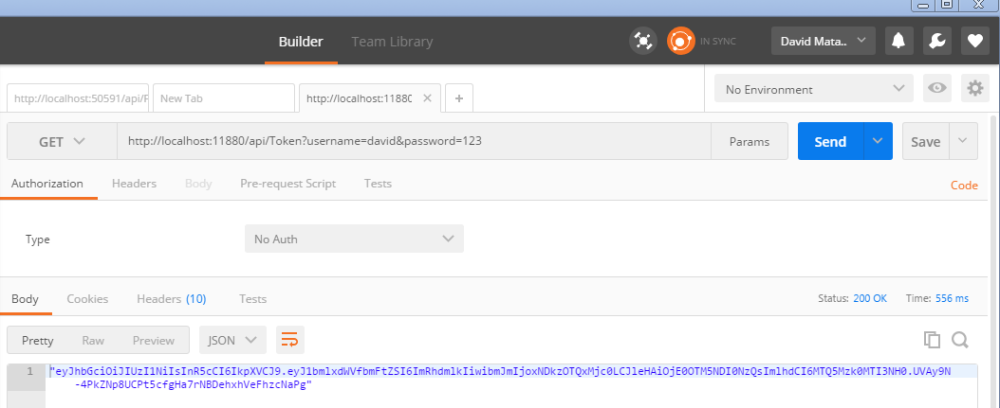
[/sourcecode]Now run your project and we are going to use a rest client (POSTMAN) to test our rest API that we just build. After running you application it will open a web page where you can go to the API option and see your endpoint.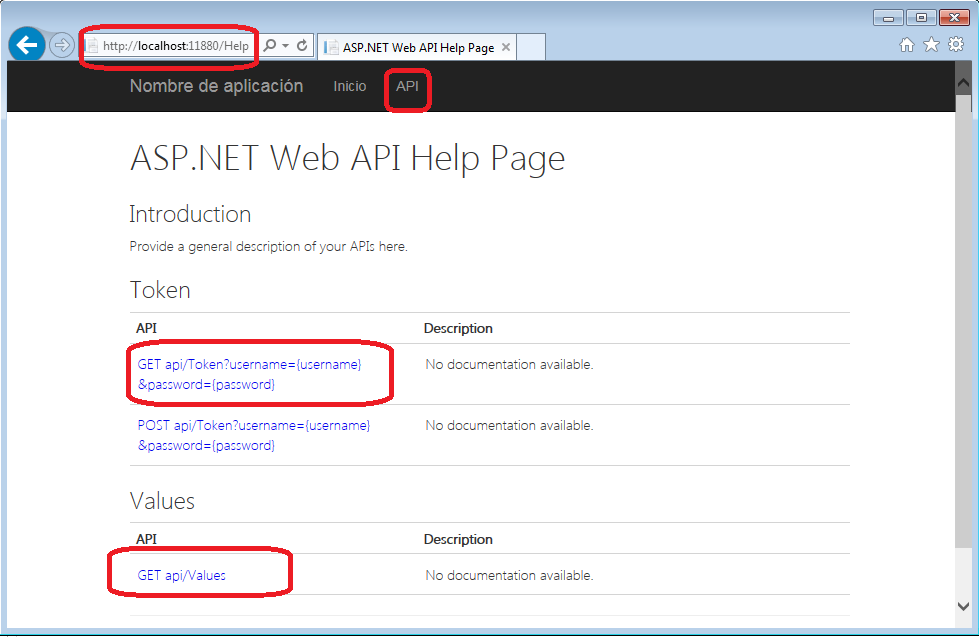
Using POSTMAN we are going to call the service to authenticate and get the JWT
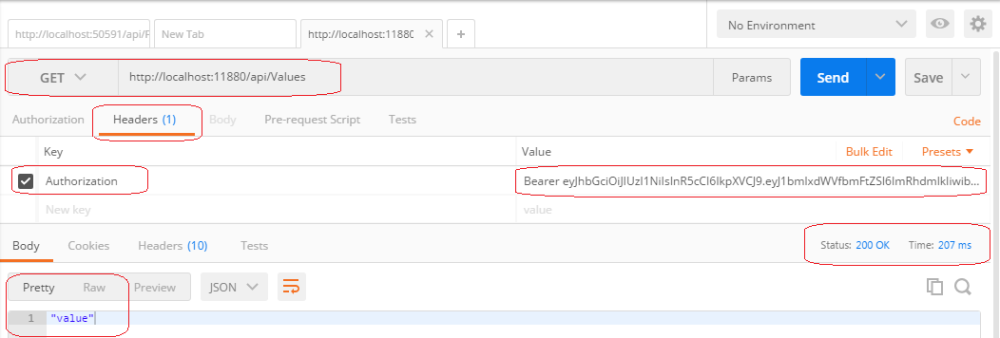
Then using the token we are going to call all protected service.
- It will use an HTTP get method.
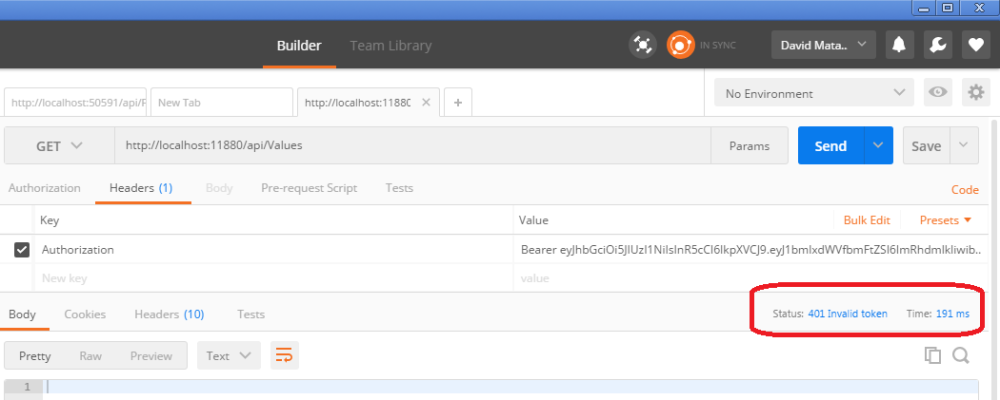
- In the headers section we are going to add the key Authentification and as value, we are going to add the word Bearer JWT
As you can see in the next image the status was 200 OK and it returned the value of the controller.
If we modified the token and we sent, it will return an error (401 Invalid Token) as it is shown in the next image.